Pour-over looks like the fussiest way to make coffee that exists. A cone, a filter, a kettle with an oddly skinny spout, maybe a scale, all so you can hand-pour hot water over ground coffee in slow, deliberate circles instead of just pressing a button. And yet once you understand what’s actually happening in that cone, it stops looking fussy and starts looking like the most honest way to make coffee there is. Nothing is hiding the result. If it tastes good, that’s you. If it tastes bad, that’s also you, which is either motivating or horrifying depending on your morning.
What’s Actually Happening in the Cone
Pour-over is, at its core, controlled extraction. Hot water dissolves flavor compounds out of ground coffee, and different compounds dissolve at different rates. The pleasant ones, sweetness, acidity, aromatic oils, come out first. The unpleasant ones, bitterness and dry, papery tannins, come out later and in a rush if you let the water sit too long. Your entire job as the person holding the kettle is to pull out enough of the good stuff and stop before you drag out too much of the bad stuff.
Every pour-over method does this the same basic way: water flows down through a bed of ground coffee, picking up flavor as it goes, then drains through a filter that catches the grounds and lets the liquid coffee through. The filter is doing double duty, separating solids from liquid and also removing most of the oils that would otherwise pass through, which is part of why pour-over coffee tastes cleaner and lighter than French press or espresso.
The Four Things That Actually Matter
- Grind size — finer grounds create more resistance and slow the water down, which extracts more. Coarser grounds let water rush through and extract less. Grind size is the single biggest lever you have for fixing a bad cup.
- Water temperature — just off boiling, somewhere around 195 to 205°F. Too cool and you’ll underextract into something flat and sour. Too hot and you risk scorching the grounds into bitterness.
- Ratio — how much coffee relative to water. A common starting point is 1 gram of coffee to 16 grams of water, adjustable to taste. This is the easiest variable to get consistent once you own a cheap kitchen scale.
- Time and agitation — how long the water sits in contact with the coffee, and how much you stir or swirl it. Longer contact and more agitation both pull out more flavor, for better or worse.
Everything else, the specific dripper, the pouring pattern, the ritual of it, is really just a way of controlling those four variables more precisely. That’s genuinely the whole trick.
The Basic Method, Step by Step
- Boil water, then let it rest off heat for 30 seconds or so if you don’t own a temperature-controlled kettle. You’re aiming for just under boiling.
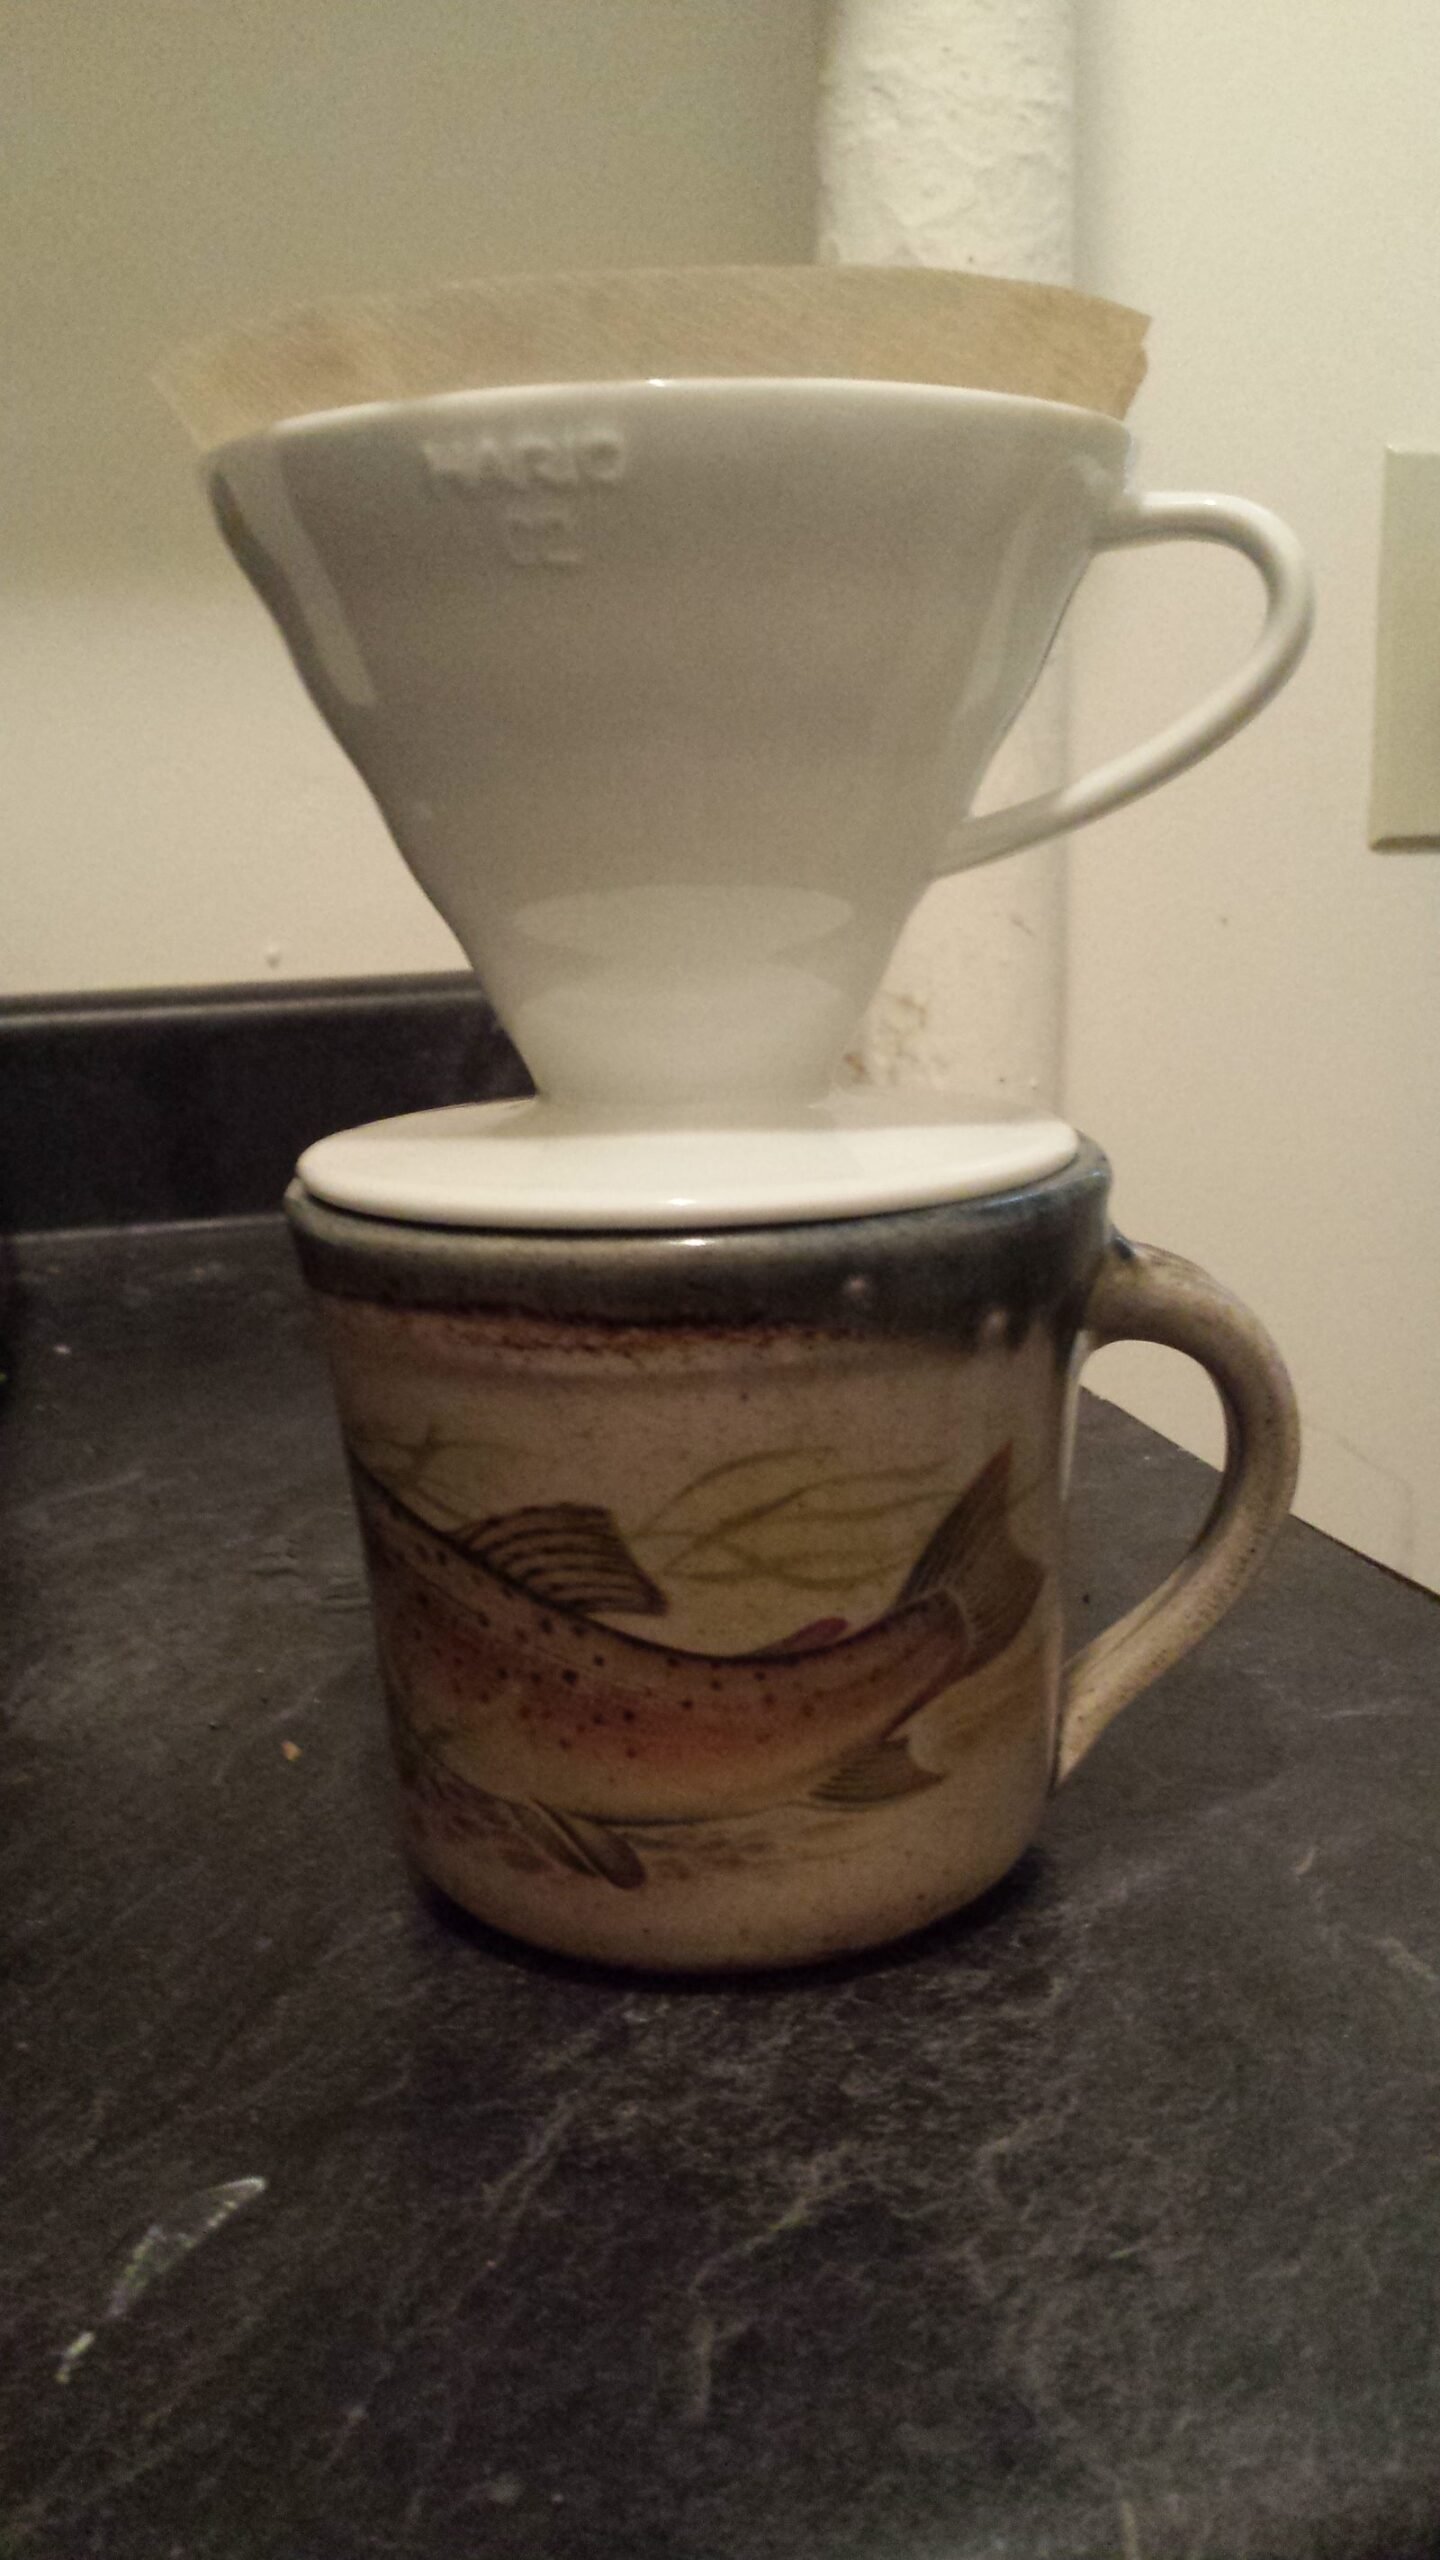
- Rinse your paper filter with hot water before adding coffee. This removes any papery taste and preheats your dripper and mug.
- Add medium-fine ground coffee, about the texture of coarse sand, and give the bed a gentle shake to level it.
- Start your timer and pour a small amount of water, roughly double the weight of your coffee, over the grounds and let it sit for 30 to 45 seconds. This is the “bloom,” and it lets trapped carbon dioxide escape so your later pours extract evenly.
- Continue pouring in slow, controlled circles, keeping the water level fairly consistent, until you’ve reached your target water weight. Total brew time usually lands somewhere between two and a half and three and a half minutes.
- Let the dripper fully drain, then remove it and drink the coffee while it’s still hot enough to smell like something.
If your coffee tastes sour, thin, or hollow, you likely underextracted: grind finer, pour slower, or extend your time. If it tastes bitter, harsh, or ashy, you likely overextracted: grind coarser, pour faster, or cut your time down. Nearly every bad cup of pour-over traces back to one of those two problems, which is honestly good news, because it means the fix is almost always a five-second grind adjustment rather than a personality flaw.
Once this clicks, you’ll start noticing it applies to every dripper on the market, whether it’s a V60, a Chemex, or a Kalita Wave. They all just express those same four variables slightly differently, which is exactly what we’re covering next.
Pour-over isn’t fussy. It’s just honest — every mistake you make shows up in the cup, which is exactly why it’s worth learning properly.
Ready to actually buy one? Here’s where to start:
These link to Amazon — we may earn a small commission at no extra cost to you. Full disclosure.
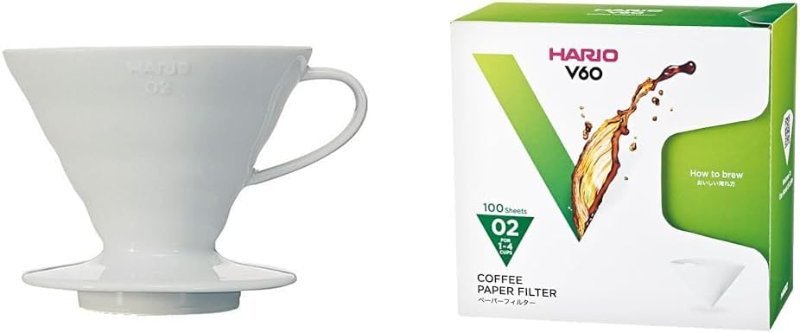
Hario V60 Ceramic Dripper
Cheap, unforgiving, and the dripper that teaches you the most about your own pour. I still reach for mine most mornings.
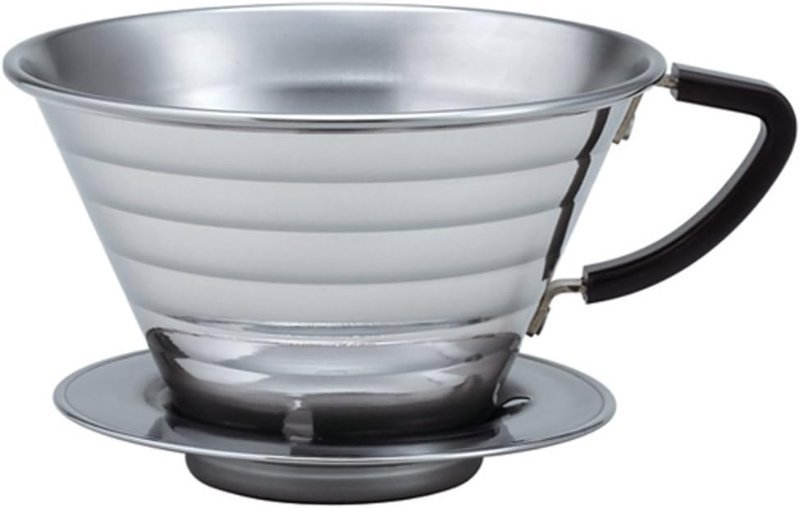
Kalita Wave 185
The flat-bottom wave filter forgives an uneven pour in a way the V60 never will. Want consistency without babysitting every pour? Start here.
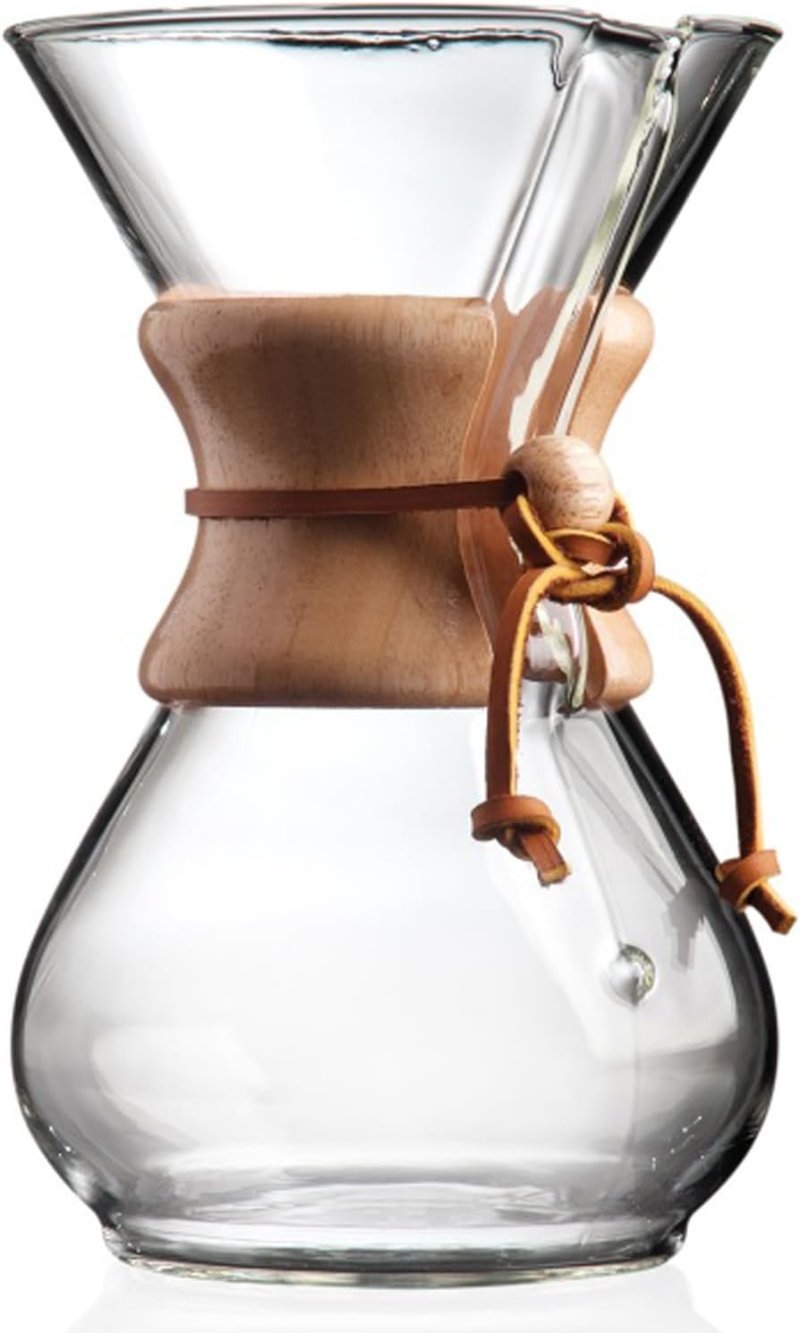
Chemex Classic 6-Cup
It’s as much a showpiece as a brewer, and the thick bonded filters produce one of the cleanest cups you can make at home — especially nice when you’re pouring for guests, not just yourself.