A $150 ceiling is a real constraint, and it’s the exact budget where most starter bundles go wrong. Search that number and you get a matched set: a ceramic cone, a glass server with a wooden collar, a stainless kettle, a little scoop, and a grinder that costs eleven dollars. It photographs beautifully and it brews mediocre coffee, because the money went to the parts you look at instead of the one part that decides how the cup tastes.
Here’s the build we’d actually put on a counter for the same money. It’s uglier and it’s better, and the reasoning behind each piece matters more than the list itself.
Rule one: roughly half the budget goes to the grinder
Grind uniformity is the constraint everything else operates inside. A blade grinder doesn’t grind — it chops, randomly, producing dust and boulders in the same batch. Those fines over-extract into bitterness while the boulders sit there under-extracted and sour, and you taste both at once. That’s the flat, muddy quality people blame on their beans or their technique. No pour pattern, water recipe, or dripper upgrade fixes it, because you can’t extract two wildly different particle sizes correctly with one brew time.
A conical burr grinder crushes beans to a set gap, so the particles land in a narrow band and extract at roughly the same rate. This is the single component where spending more produces an obvious, immediate difference in the cup — which is why it gets about half of the $150.
Heads up: the links below are Amazon affiliate links, so we earn a commission if you buy through them. It doesn’t change your price, and it doesn’t change what we recommend.
The Anchor
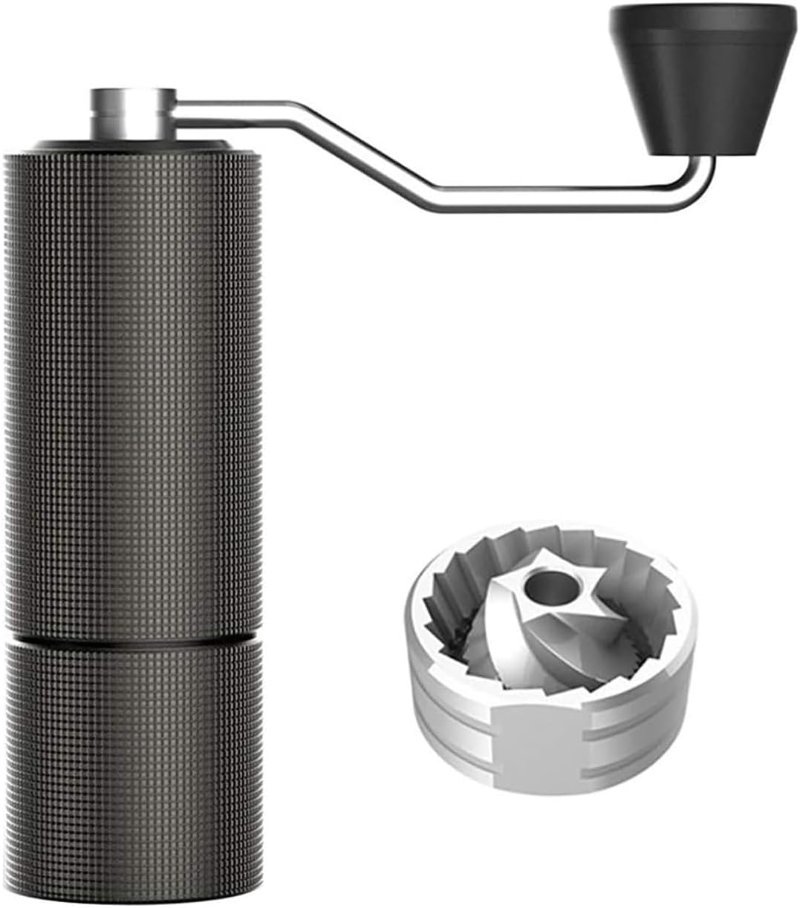
TIMEMORE Chestnut C2 Manual Coffee Grinder
Stainless conical burrs, double-bearing axle to keep the shaft from wobbling, 25g capacity — enough for a two-cup brew in one go. It is a hand grinder, so you’re paying about 30 seconds of cranking per brew. That’s the trade that makes the rest of this build possible, and the grind consistency is not close to what an electric blade grinder gives you.
The dripper: plastic, and not as a compromise
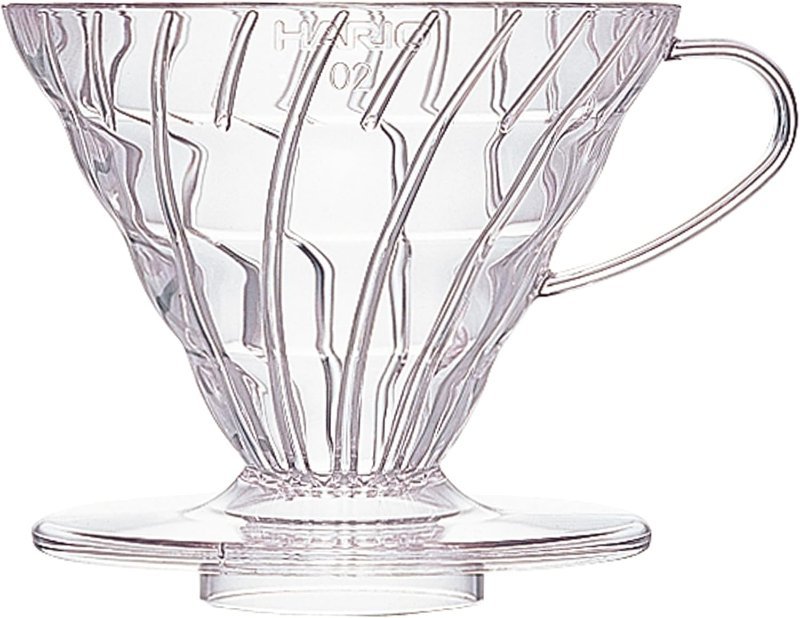
The Hario V60 comes in ceramic, glass, metal, and plastic. The brewing geometry — the 60-degree cone, the spiral ribs that lift the paper off the wall, the single large exit hole — is identical across all of them. What changes is thermal mass, and here plastic wins on the merits.
A ceramic cone is a heat sink. It pulls energy out of your slurry for the first 30 seconds unless you preheat it thoroughly, which means an extra kettle of water and an extra step every morning. Plastic has almost no thermal mass, so it takes nearly nothing from the brew and is far more forgiving if you skip the preheat. It also survives being knocked into a sink. The ceramic version costs more than twice as much and its main advantage is that it looks nicer on a shelf.
 The Brewer
Hario V60 Plastic Coffee Dripper, Size 02
Size 02 is the right call over the smaller 01 — it handles one cup or three, so you don’t buy a second dripper the first time someone else wants coffee. Sits directly on a mug or a carafe.
Filters are cone-specific, so buy the real ones
Generic cone filters are cut to a different taper. They sit flat against the dripper wall, defeating the ribs whose entire job is to hold a drainage channel open, and your brew stalls or channels down one side. Hario’s own papers are cheap enough that saving money here is not worth the variable.
We use the natural (unbleached) version, but rinse either type with hot water before brewing. Rinsing washes out papery taste and preheats the cone and your mug at the same time.
 Consumable
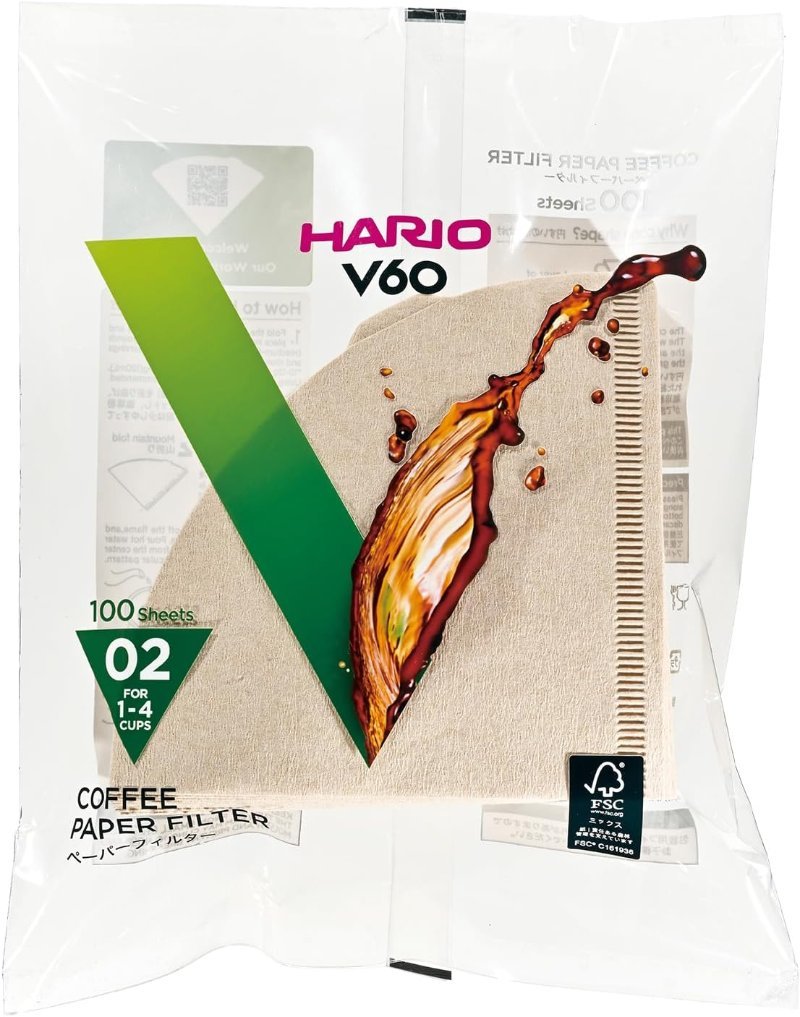
Hario V60 Paper Filters, Size 02, Natural (100 ct)
About three months of daily brewing per box. Match the size to your dripper — 02 filters in an 02 cone.
The kettle: stovetop, because the electric one costs a grinder
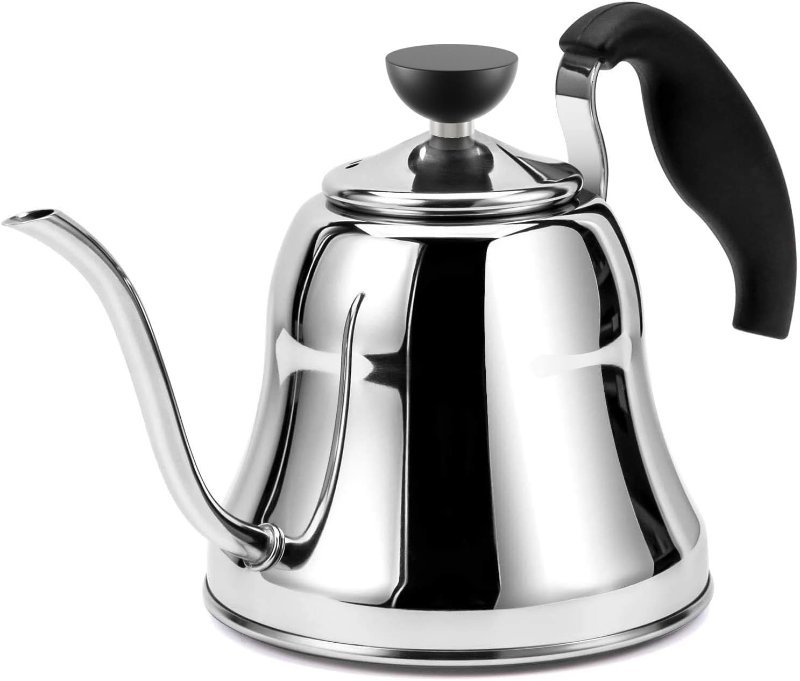
The gooseneck shape is doing real work. A narrow, downward-curving spout lets you deliver a slow, aimable stream that lands where you want it without punching a crater in the bed. Pour from a standard kettle and you get a wide, fast gush that digs channels and drags fines to the bottom of the filter. This is the one place where the shape of the tool genuinely changes the technique available to you.
What we skip is temperature control. Variable-temp electric goosenecks start around the price of the entire grinder, and the problem they solve has a free workaround: boil the water, take it off the heat, and wait 30 to 45 seconds. That lands you in the 195–205°F range for a light or medium roast. A $10 thermometer later will make it exact if you care.
 The Kettle
Stovetop Gooseneck Pour-Over Kettle, 28 oz
Food-grade stainless, works on gas, electric, and induction. 28 oz is plenty for a 360g brew with rinse water to spare. No electronics to fail, and it costs about a third of what a temperature-control model does.
The scale everyone skips
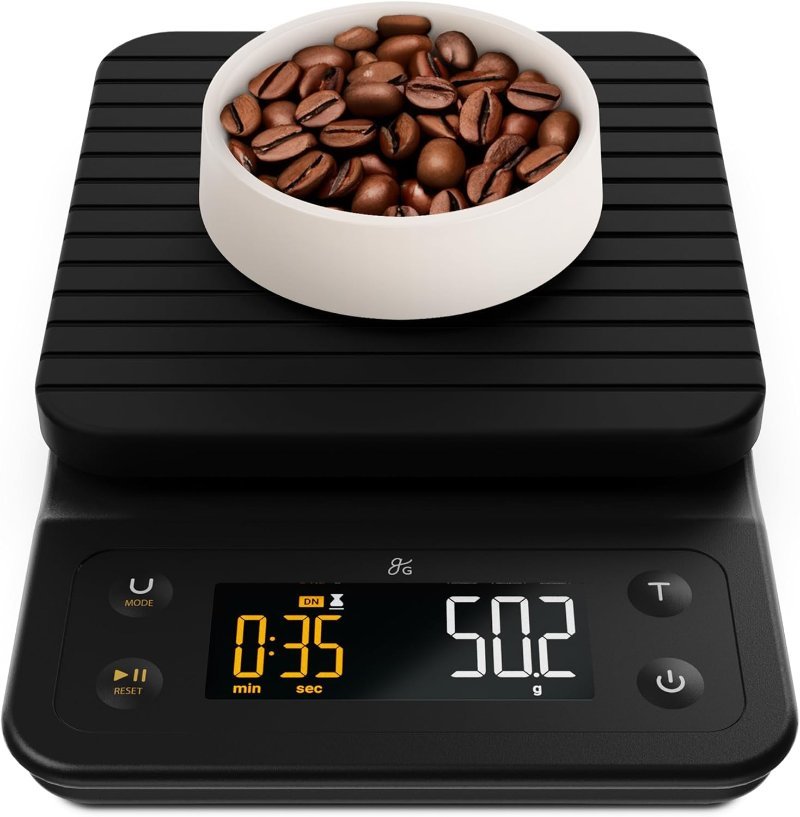
Scoops measure volume, and coffee’s density changes with roast level, bean size, and how coarsely you ground it. A “two tablespoon” dose can swing by several grams between a dark Sumatra and a light Ethiopian, which is enough to move your ratio somewhere you didn’t intend. Weighing removes that variable entirely, and once it’s gone, a bad cup becomes information instead of a mystery.
The built-in timer matters as much as the precision. You want to see bloom time and total brew time without juggling your phone in one wet hand.
 The Measure
Greater Goods Coffee Scale with Timer
0.1g resolution, a count-up timer, a backlit display you can read through steam, and a silicone cover so the inevitable spill isn’t fatal. Wide enough to hold a V60 sitting on a mug without tipping.
The receipt
Rounded to the nearest dollar at the time of writing — Amazon pricing drifts, so treat these as the shape of the budget rather than a quote:
- Grinder — about $70
- Scale — about $30
- Kettle — about $22
- Dripper — about $13
- Filters — about $8
That lands right around $143. The grinder is 49% of it, and that ratio is the whole argument.
What we left out on purpose
No glass server — brew straight into your mug and skip a dish. No ceramic dripper, for the reasons above. No bean canister, because a bag with a one-way valve, rolled down and clipped, keeps beans fine for the two weeks you should be drinking them in. No distribution tool, no temperature-control kettle, no scoop.
And the one thing that isn’t on this list but outranks half of it: fresh beans with a visible roast date. Coffee roasted five weeks ago will beat you no matter what gear you point at it. Buy from a roaster who prints the date, and brew it in the two to three weeks after.
Your first brew on this setup
22g of coffee to 360g of water, a hair over 1:16. On the C2, start somewhere around 20–24 clicks out from zero and adjust from there — coarser if the brew stalls past three and a half minutes, finer if it runs dry before two and a half.
Rinse the filter with hot water and dump the runoff. Add grounds, level the bed, tare. Pour 45g and start the timer — that’s the bloom, and 45 seconds is enough for the CO2 to work its way out. Then pour in two or three stages to 360g, keeping the water level in the middle of the cone rather than letting it run down the walls. You want the whole thing done and dripping out between 2:45 and 3:15.
That’s the setup. It won’t win any counter-aesthetics awards, but it makes coffee that’s actually worth the three minutes.